Search the Community
Showing results for tags '50th'.
-
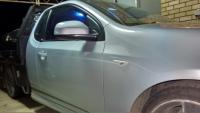
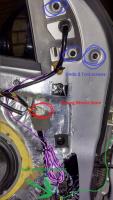
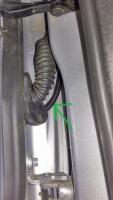
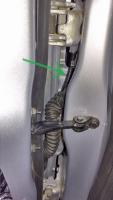
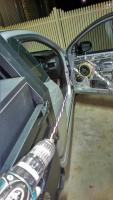
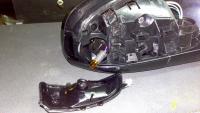
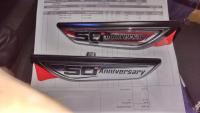
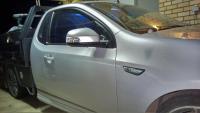
So I've just installed mirrors with indicators on My Fg 50th anniversary ute. I really wanted that 50th fender badge and thought the mirror indicators looked good too. None of the utes have indicator mirrors simply because there are no wiring looms for the utes that would allow them to just plug in. I'm not sure which if any of the models of sedan are plug-n-play. A pair of aftermarket indicator mirrors from Sydney Special Vehicles is around $300 from their ebay site. If you want to use Genuine ford mirrors you need to make sure you get ones WITHOUT the mirror memory function. The S S V ones seemed a bit thinner & plasticier than the genuine ones. Before: First take the door panel off. There's a write up for that somewhere round here. Then unplug the mirror loom Snip the cable tie holding the wiring Undo the 3 Torx screws holding the mirror. If you don't have these bits I'd suggest buying a set of them as they're all through this car. Hold the mirror as you undo the last screw so you don't drop it. Put your new mirrors on, running the wiring back through the hole and do the screws back up. The S S V mirrors have the same factory Ute loom plug so it'll go straight in, plus 2 loose wires for the indicator. Now running the indicator wires there's 2 ways. Either push the wires through the factory grommet snake thingy, (I struggled when I ran my speaker wires) and then through the interior and back out to into the quarter panel. OR as I did, run some small corrugated tubing out the bottom of the grommet and up into the quarter panel through the door jamb, Much easier & iv had no issues with it. The hardest part is trying to get the grommet off its frame. To remove the factory indicators push them down bringing the top out. Then lift them up bringing the bottom out. Unplug the loom from the indicator. I then coiled the 2 indicator mirror wires together by sticking them in a drill to make them easier to rout & deal with. Then feed them through the corrugated tubing and flail them around in the direction of the indicators until you can feed them out through the factory indicator hole. Now what I did was strip back some sheathing from both + & - wires and soldered in the new wires. (sorry no pics) You could also cut the old plug clean off if you wanted. I then used some liquid electrical tape being it such an awkward spot then also wrapped it up in electrical tape. Take this opportunity to test the indicator is working before you put it all back together. The Bulbs that came with the mirror seemed to be a bit duller & different shade of orange, so I put the factory bulbs in the mirror. It doesnt matter about + &- orientation unless your using led globes, then just plug the globe in the other way. I bought the 50th anniversary badges straight from ford as I couldn't be bothered waiting to find some from a wrecker. It took me a bit to convince the Potato in the Parts department that the badges existed and had to basically tell him how find them in his own software.The end of the factory wiring loom plugs into the back of the badge so it's not left dangling around in the fender. You could also use FPV, G6E or G6E turbo badges. Apply using the double sided tape. Coil the excess wiring into a ball in the door, put it all back together & your done! (And why does typing S S V without spaces turn into Bogan special ?)
-
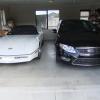
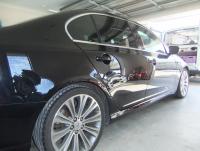
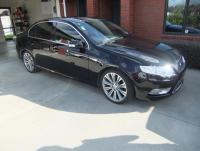
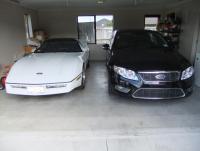
My first decent Ford, after previously having Mini's, Laser Sport, Nissan Pulsar GTI-R, numerous day to day Japanese cars. Had the G6E Turbo now for about 4 weeks, finally got it cleaned up. Here are some pics. The other car (ZR1) is the Sunday driver that dad used to own with a manual ZF gearbox.
-
Got this information from Ford NZ if anyone was wondering 50th Anniversary FG's in New Zealand Falcon FG G6E 35 2010 = 33 2011 = 2 Falcon FG G6ET 20 2010 = 18 2011 = 2 Falcon FG XR6 171 2010 = 158 2011 = 13 Falcon FG XR6T 20 2010 = 20 Total 246 Looks like the 2011 models are very limited.
-
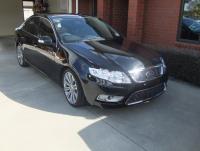
Hi All, I have just purchased a 2010 G6E T 50th Anniversary in silhouette black. I have taken a risk in that a relative drove it for me and I have only seen photos of it. When the car was advertised is said there was USB/Aux input. I can't find any information on what these inputs are for. Can someone enlighten me. Is it for charging phones, attaching USB keys for music, or just part of the apple I device system. I will be picking it up tomorrow morning with a 6-7 hour drive to follow I would like to know what I need to have ready so I can enjoy my own music. Thanks Dean